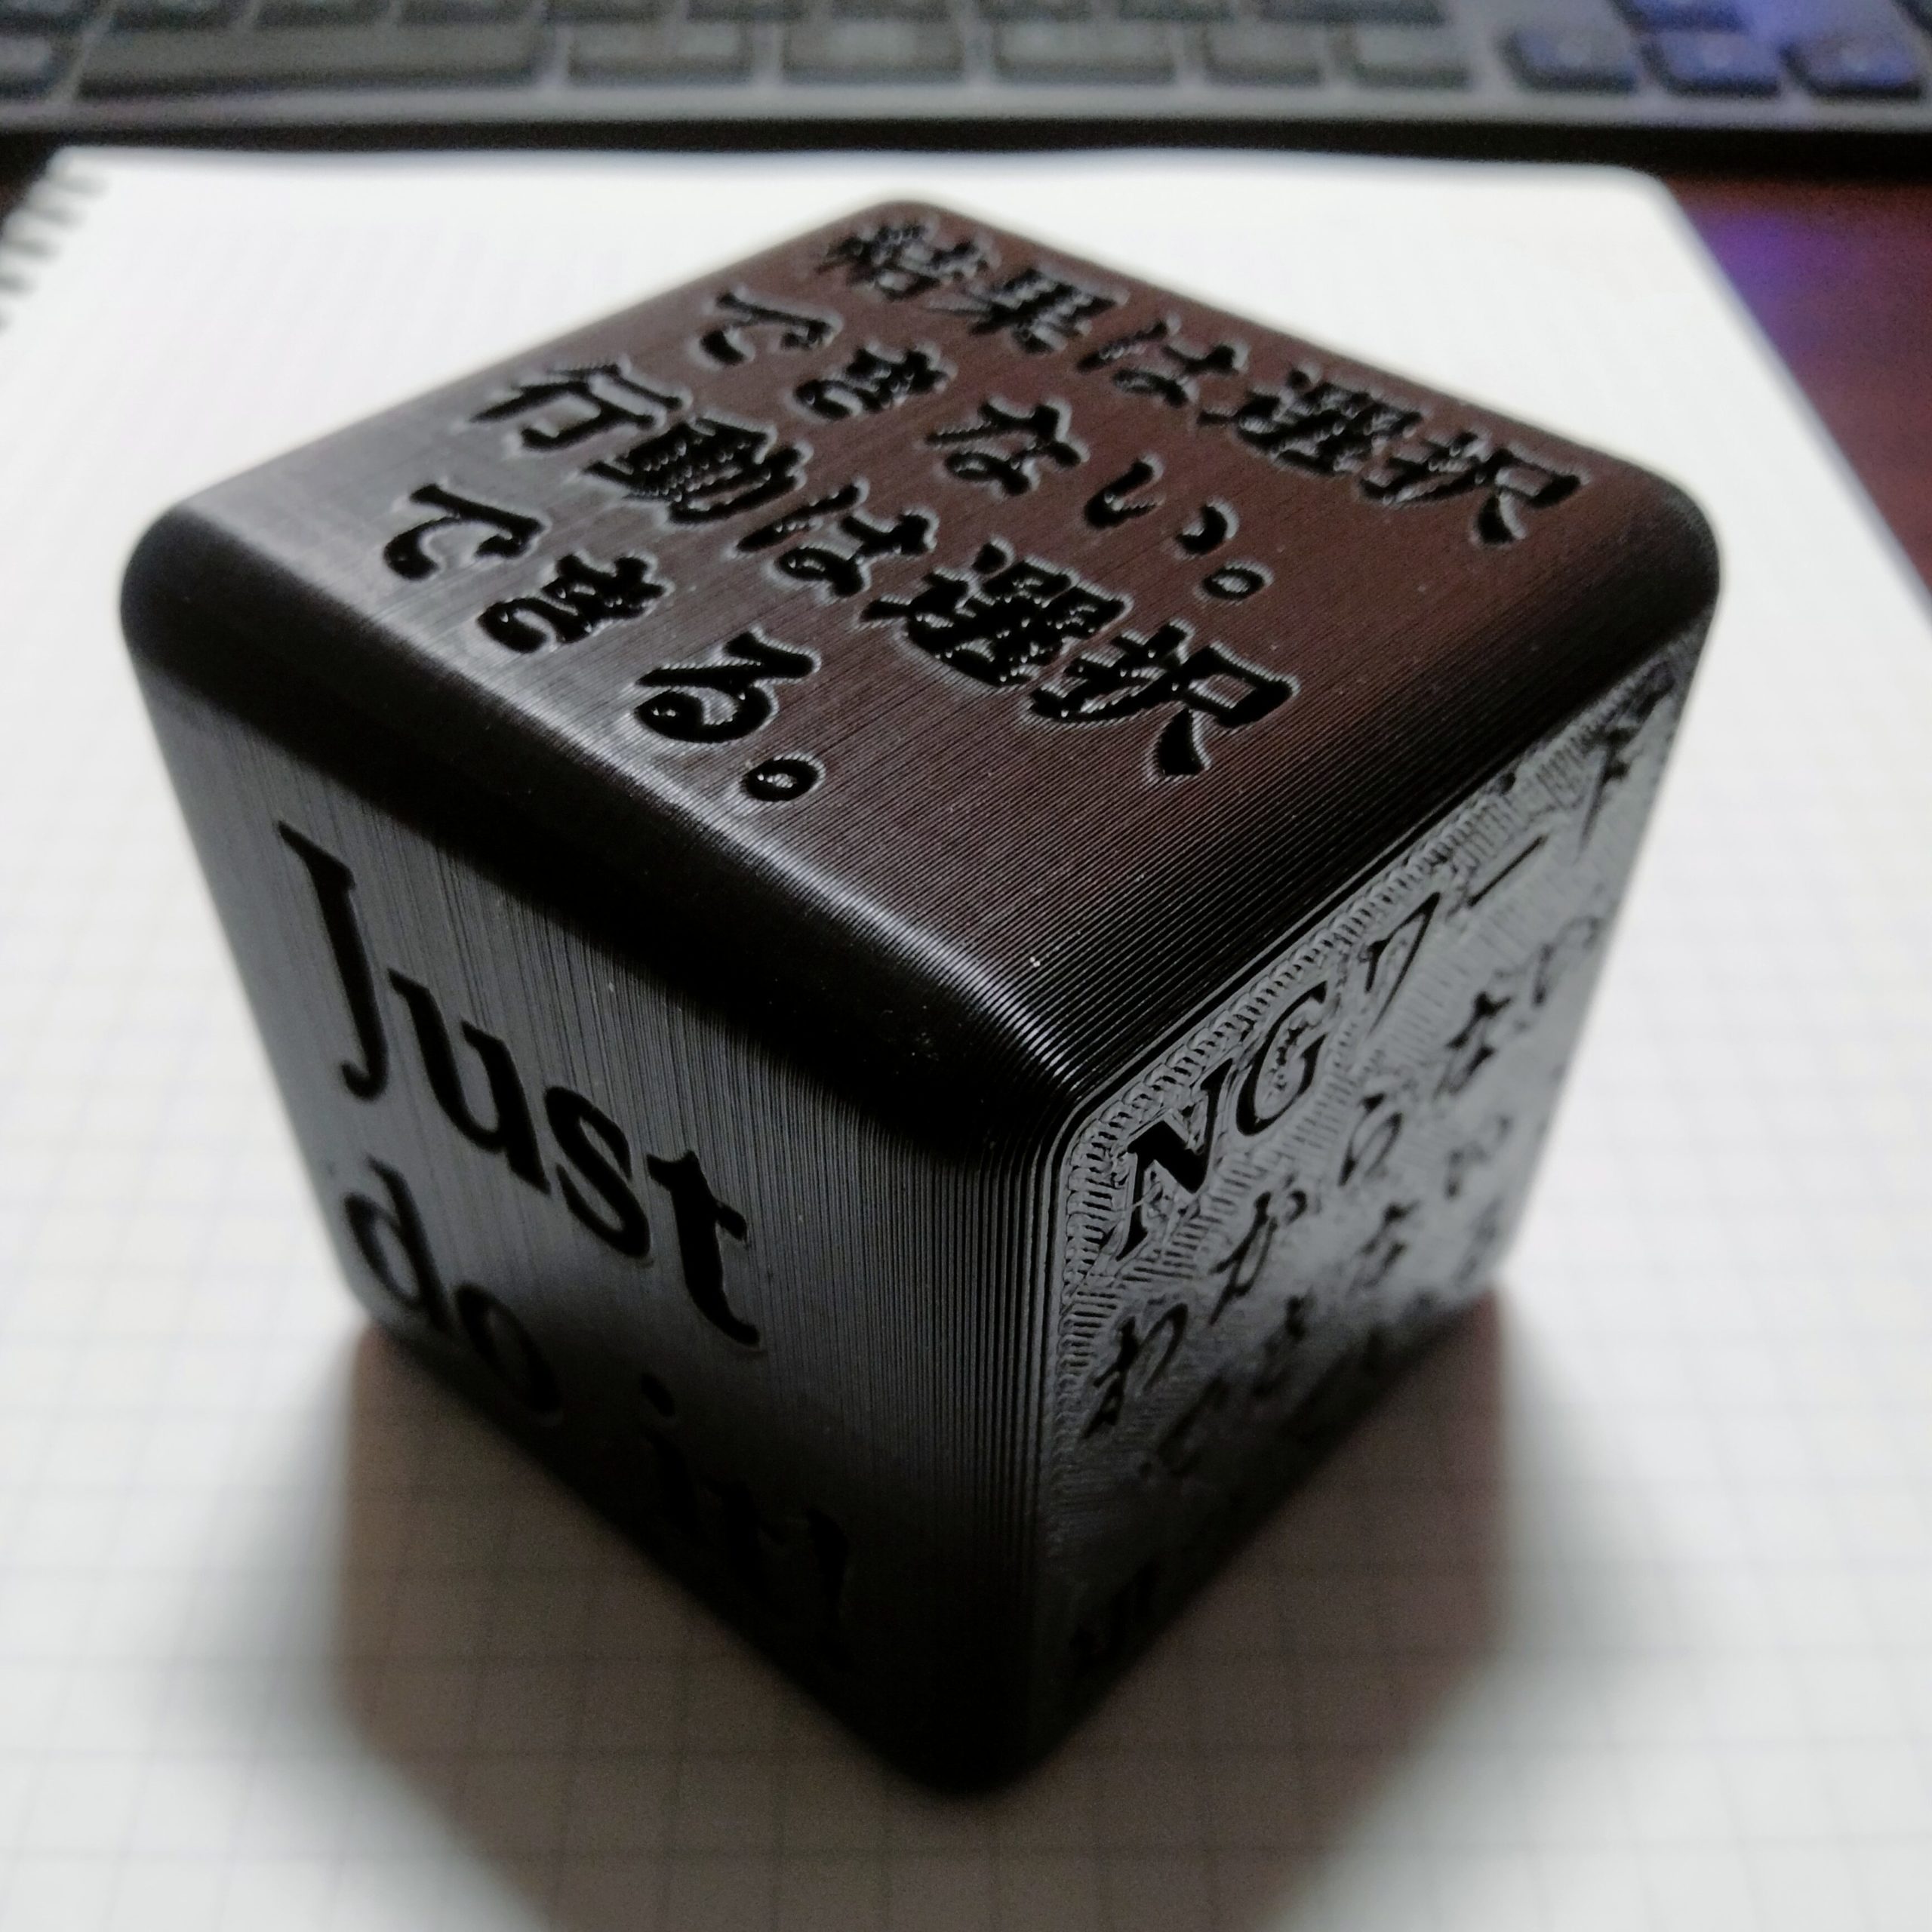
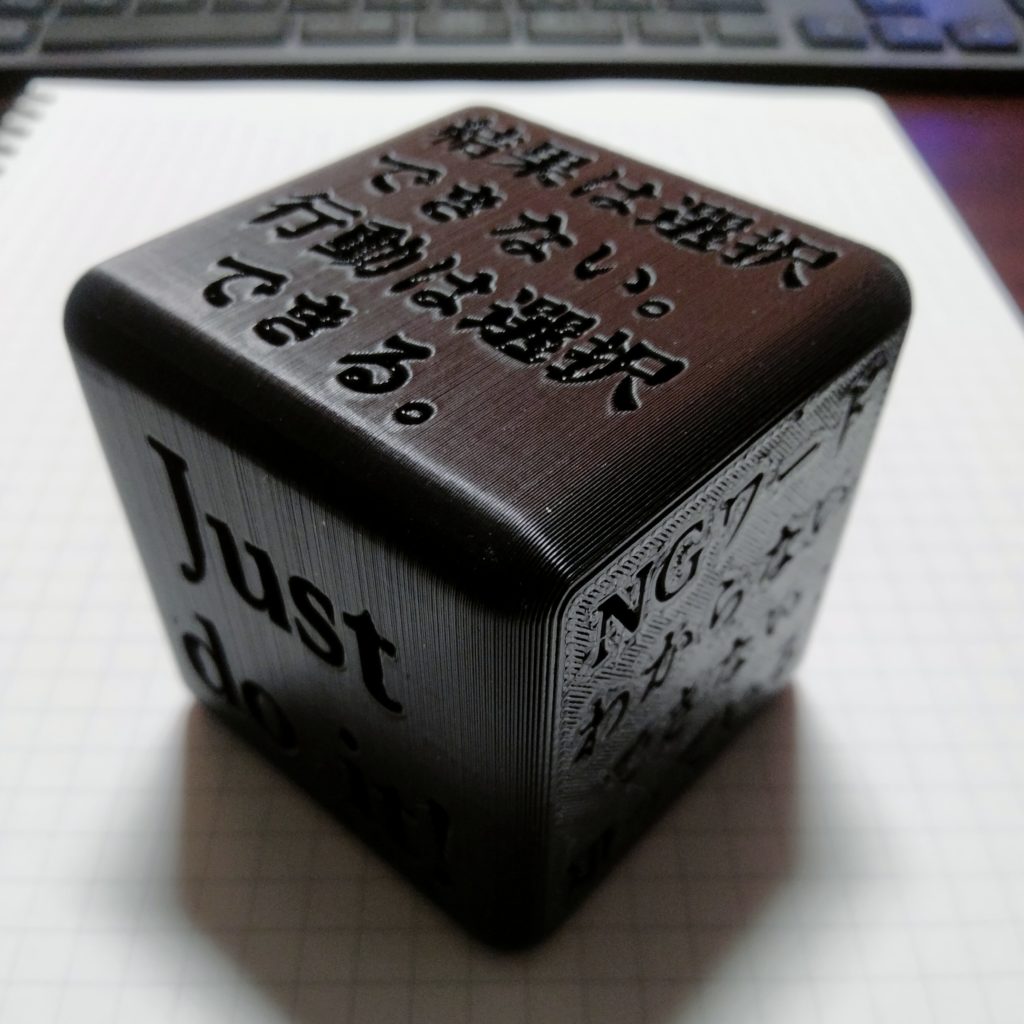
Using a 3D printer, I made a “Motivational Dice” with my favorite words placed on each face. It’s an easy project, so if you have a 3D printer lying around, why not give it a try?
How to Create the 3D Data
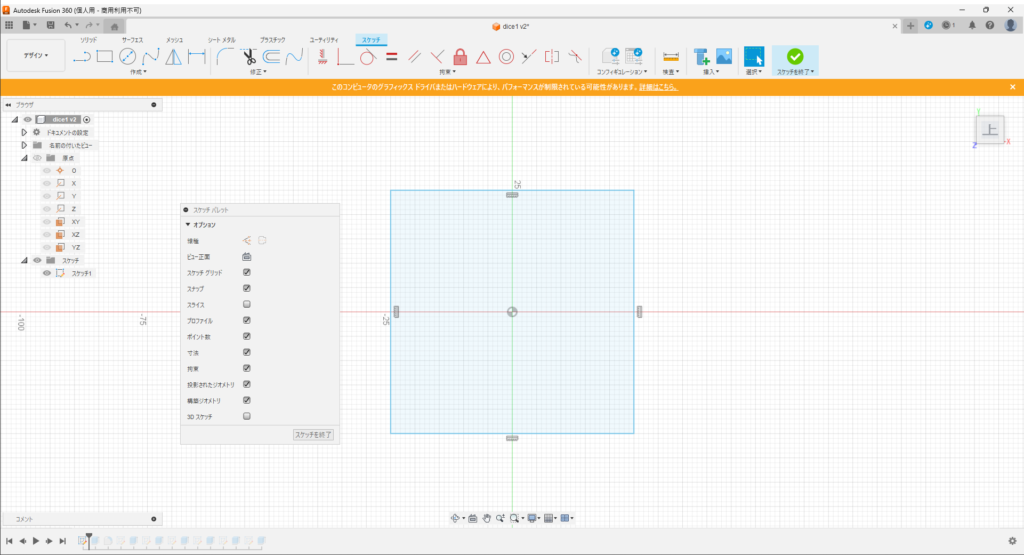
I’ll explain how to create the 3D data using Fusion360. Please note that I won’t delve into the details of Fusion360.
Creating the Base Dice
First, create a square in the sketch screen. I made mine by specifying the center point and making each side 50mm, but you can choose any size you prefer.
Then, extrude it by 50mm to turn it into a cube.
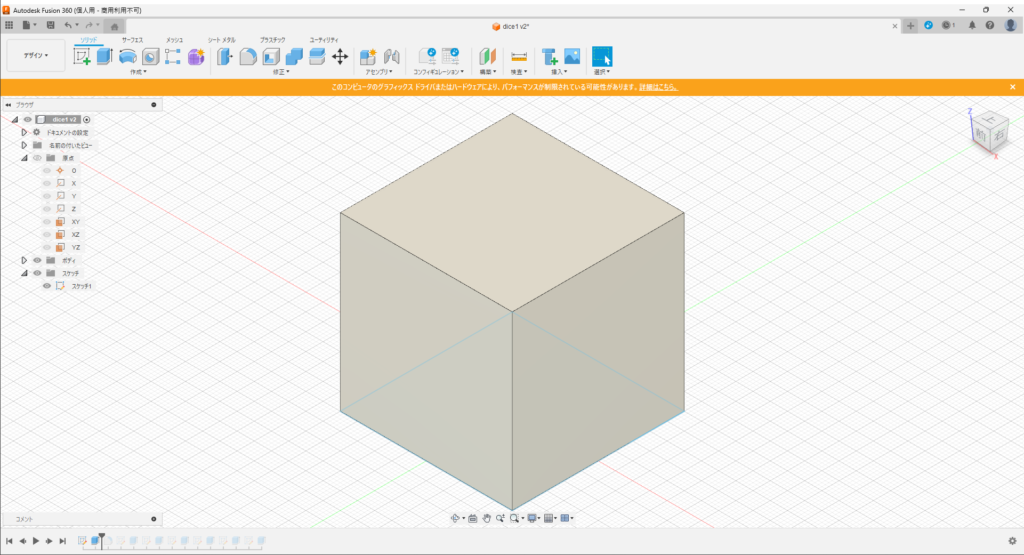
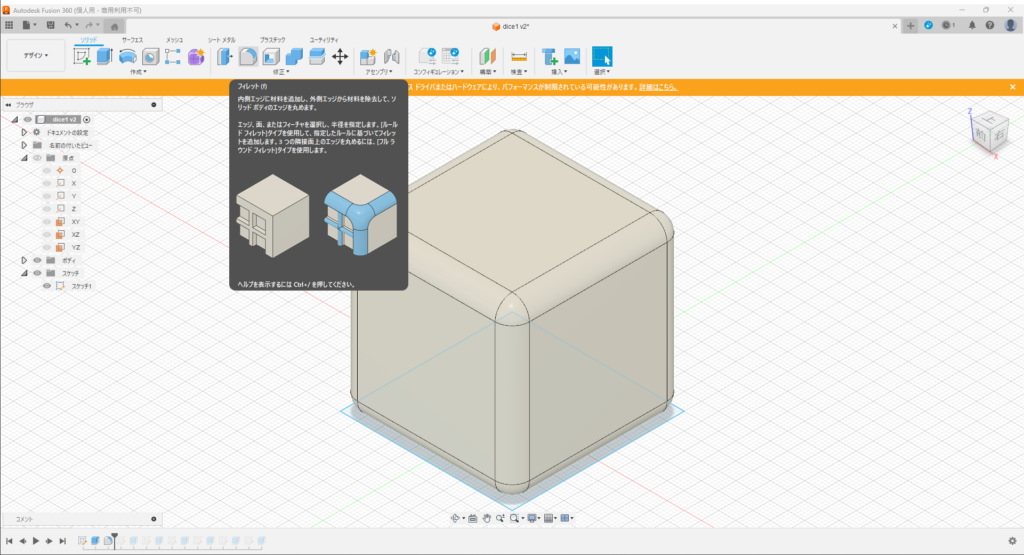
Next, we’ll chamfer the edges. Use the fillet tool to round each edge with a 5mm radius, or to your liking. This completes the base.
Embedding Your Favorite Words
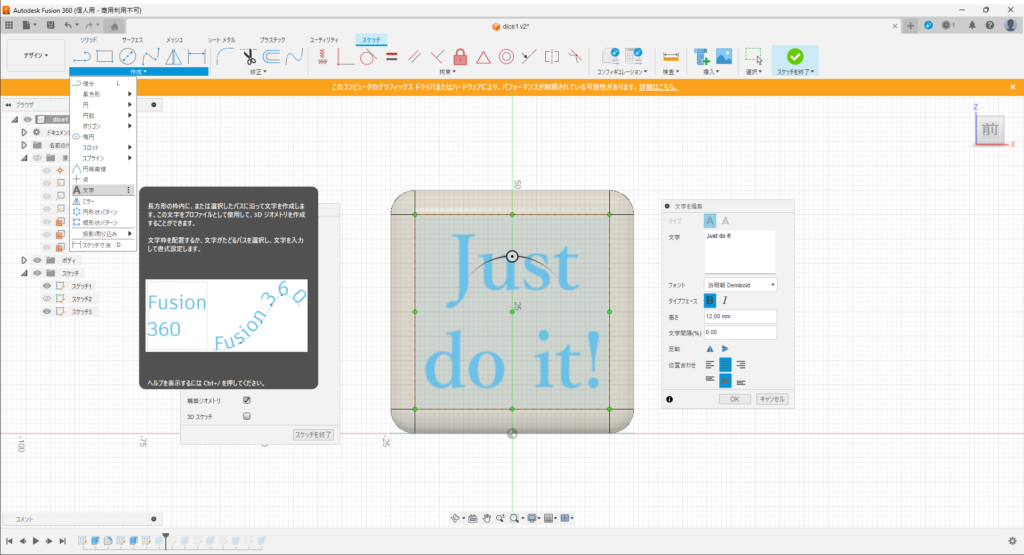
Choose the face where you want to add text and add a sketch. In the “Create” category, select “Text” and enter your favorite words in the “Edit Text” window. You can choose any font you like. Just make sure it doesn’t exceed the chamfered areas.
Once you’ve written the text, end the sketch session and extrude the text you’ve specified. A depth of about 3mm should be fine.
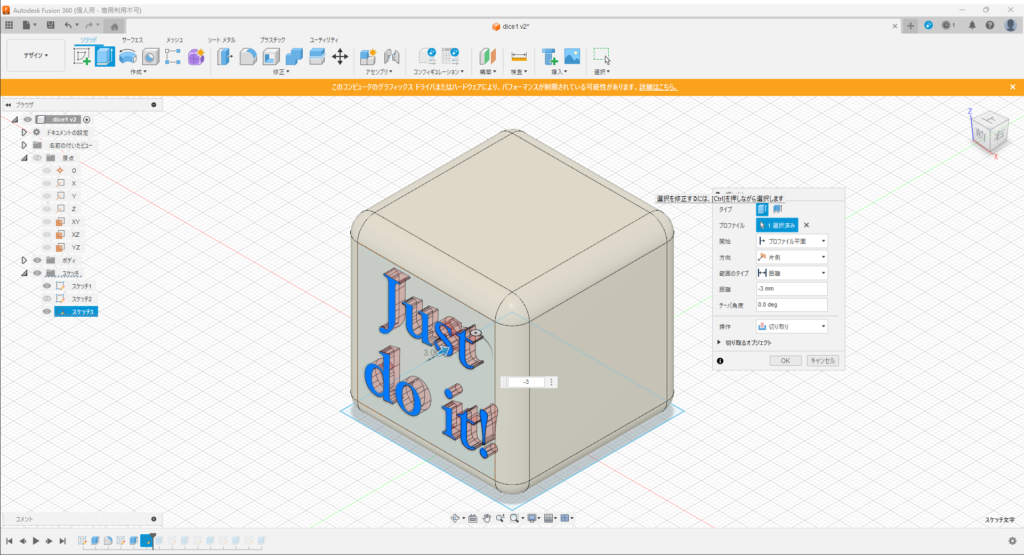
Repeat this process for the remaining five faces, and you’re done. It’s quite simple.
What’s the Point?
I don’t know!
Since it’s adorned with words I consider important in life, I keep it on my desk where I can always see it.
It serves to imprint these guiding words into my subconscious, ensuring that my life’s direction remains steady.


コメント